Perfect makeup routine for all seasons:
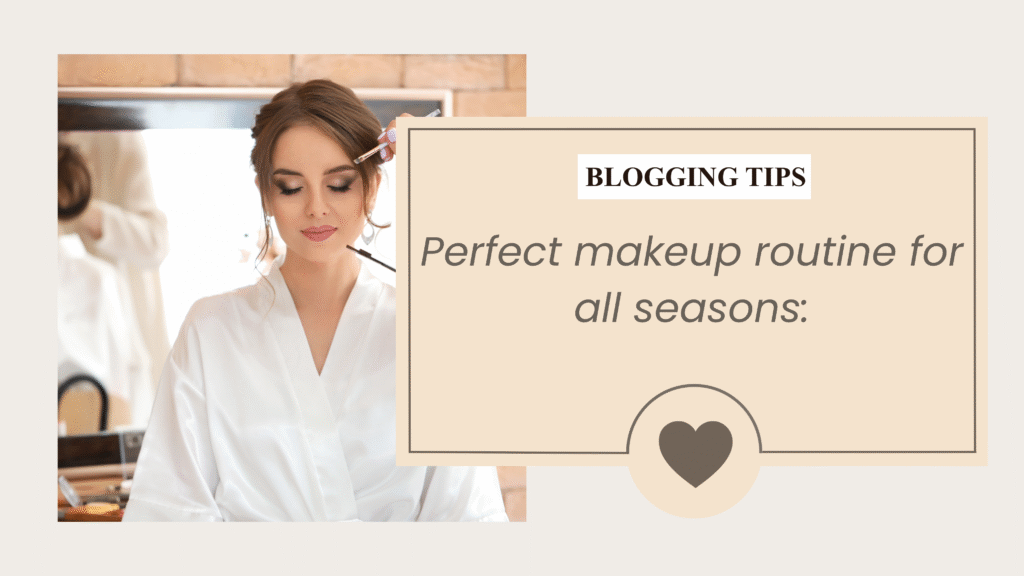
Due to the climatic conditions, every skin type will easily get affected by entire seasons and throughout the year. Simply knowing about the perfect makeup routine for all seasons improves your skin tone, healthy, glowing skin without any flaws no matter what the weather. Right from summer to winter dryness, every season choosing the right products will improve your skin tone health and longevity Why do seasonal makeup products matter? Your skin reacts according to your skin type. Hot and humid weather Winter climate Dry air Excess oil production Spring and autumn Using the same makeup routine throughout the year Dry patches Bad skin acne Premature age Eye dullness Allergic reactions Summer Makeup Routine: During the summer season, sweat and oil production are in excess. Best Summer Makeup Tips: Use smooth and soft moisturizers Oil-free tan products Use primers before applying Use matte foundation Setting spray finish Use SPF++ products before makeup Monsoon makeup routine: Use light makeup Use waterproof mascara and eyeliner Avoid heavy foundation Use compact powder Winter makeup routine: Cold weather often causes dry skin. Keep lips moisturized Use hydrating cream Usage of cream powder Use of blush highlighter Skincare Essential Before Makeup: Flawless makeup needs skin care. Face cleanser Moisturizer Good primer Toner Sun screen Serum Eye cream Common makeup products for all seasons: sunscreen Lip balm Lightweight Foundation Setting spray TonerWaterproof eyeliners SPF Common mistakes should be avoided: Wrong shades Too much concealer Overdrawing brows Unclean brushes Ignoring skin hydration Over powdering during winters Tips for long-lasting makeup: Cleaning the brushes after makeup Choosing skin type Blending the wrong shades Over powdering Skipping primer Conclusion: Following the perfect makeup routine for all seasons keeps flawless skin and optimal skin tone and increases confidence in resuting enhancing natural beauty. Beautiful makeup begins with understanding your skin’s seasonal needs. With the right routine, you can achieve a flawless look in every season.
How to Avoid Bad Makeup Products
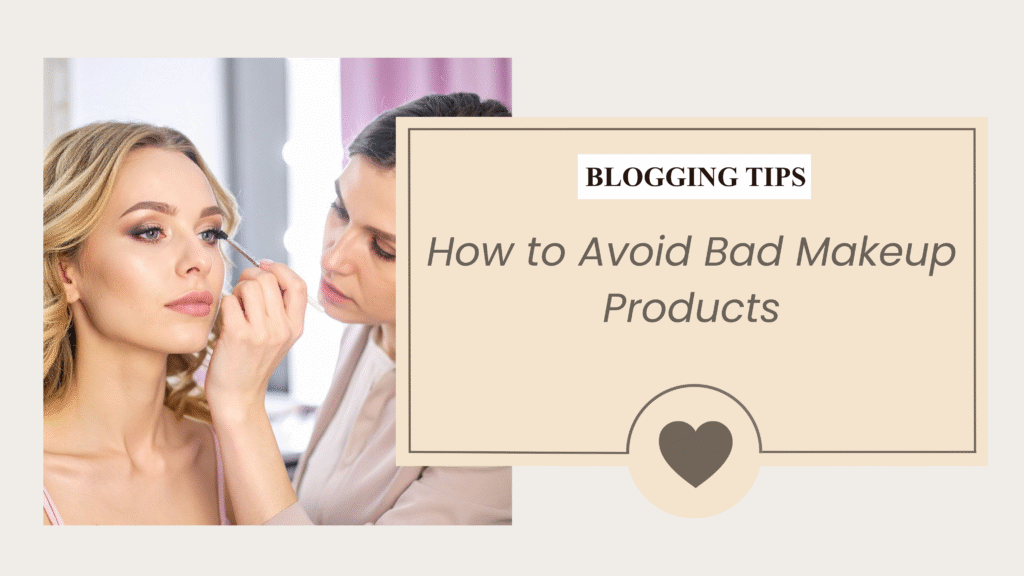
Selecting the right cosmetic product is not only important for beauty purposes but also for the benefit of skin health. Learning how to avoid bad makeup products can help you protect your skin make the best safety choices for your skin health. Most of the people, due to unawareness, use harmful and low-quality products over time. Signs of bad cosmetic products: Harmful makeup products may contain dangerous ingredients, be expired, or be bad quality products, leading to allergies, irritation, breakouts, and aalso long-run damage of the skin. Bad odor: If a makeup product has a harsh chemical substance or unpleasant smell,then it may be outdated or dangerous to use. Poor brand product packing quality: Fake and low-quality brand products usually have the following: Spelling errors Missing label and expired products Bad quality products Irritation of skin after usage: A burning sensation, black spots, and, in addition to that, bad acne are the major complaints. Offer price packages: Premium brand products sold at very low prices so they are bad signs and warnings. Harmful Ingredients to Avoid in Makeup products: To be aware of how to avoid bad makeup products, you always need to check the ingredients labels.In addition to that Chemical substances that harm skin are: Parabens Sulfates Formaldehyde Lead Artificial fragrances Alcohol-based chemicals Ethanolamines (DEA, MEA, TEA) These kinds of chemicals will cause skin problems and also long-run consequences. How to Choose Safe Makeup Products: Buy from authorized products: Purchase products from the authorized premium brand stores. Recheck the expire date: Expired date substances can create skin acne and collect bacteria on the skin. Follow reviews before buying: Client reviews help identify the best quality products. Select according to skin type: Choose the makeup according to skin types. Oily skin Dry skin Sensitive skin Look for Dermatologically Tested Products: Certified and tested makeup products are best to use. Benefits of Using Good Quality Makeup: Best and high-quality makeup products : Protection of skin Reduce bacteria and allergies Improve makeup finish and durability Support healthy skin for the long run. Conclusion: Your skin deserves the best quality products that improve the beauty of skin without skin damage.Therefore making smart decisions will enhance skin tone and comfort your skin in the long run. Hence always choose better quality makeup products, ingredients, and premium brand products rather than cheap prices.
Sweat proof makeup guide: everything you need to know
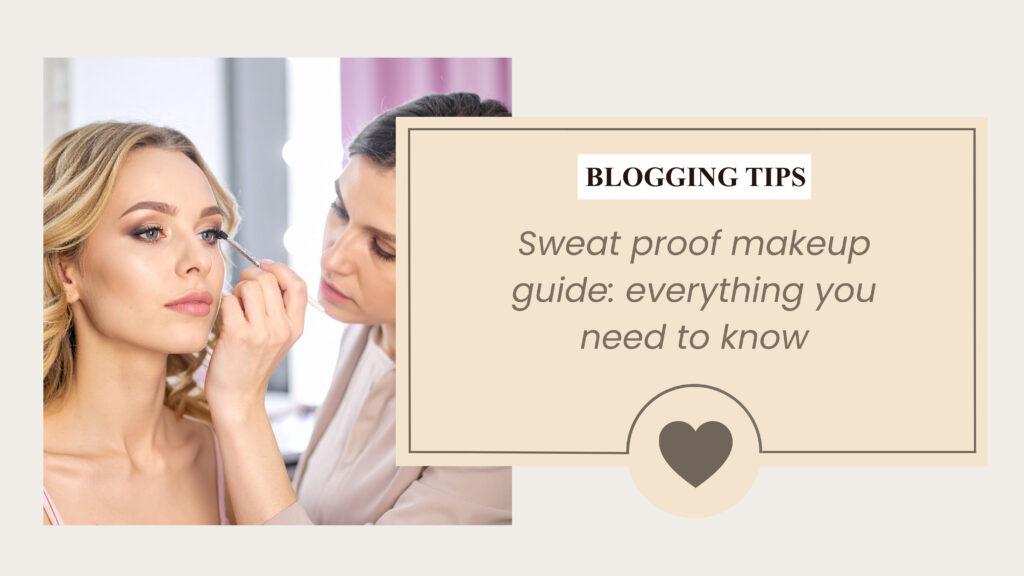
Sweat proof makeup guide: everything you need to know Summer heat, humidity and sweating can turn even the best makeup to look like a mess within a few hours. Smudged eyeliner, patchy foundation and disappearing blush are problems almost everyone faces during hot weather. But the good thing is, creating a flawless sweat-proof makeup look is absolutely possible when you use the right techniques and products. Whether you’re heading to work, attending a wedding, going to college or spending time outdoors, this guide will help you maintain fresh and long lasting makeup that survives heat and humidity. Why Does Makeup Melt in Summer? Before fixing the problem, it is important to understand why it happens. Heat and sweat break down makeup products, especially when: Skin becomes oily Products are layered heavily Makeup isn’t set properly Wrong formulas are used for humid weather That’s why building a proper sweat-proof makeup routine matters. Step 1: Start With the Right Primer A good base is the secret behind long-lasting makeup. If you struggle with oily skin or sweating, choosing the right primers for sweaty skin can make a huge difference. Look for: Oil-control primers Matte-finish formulas Lightweight textures Using a quality sweatproof primer helps: Minimize shine Smooth pores Prevent makeup from sliding off This single step can help you maintain a long-lasting look for your entire makeup. Step 2: Choose the Best Foundation for Humid Weather During summer, heavy foundations can melt very quickly. Instead, choose lightweight, breathable formulas designed specifically for hot climates. The best foundation humid weather products usually: Have a matte or natural finish Feel lightweight on the skin Offer transfer-resistant coverage Stay intact for longer hours Apply foundation in thin layers rather than using too much product at once. This helps the makeup look natural and prevents cakiness. Step 3: Use the Best Sweat Proof Compact Powder One of the easiest ways to lock makeup in place is by using the best sweat proof compact powder. Compact powder helps: Control oil Reduce shine Keep foundation fresh throughout the day Focus mainly on oily areas like: Forehead Nose Chin Avoid over-powdering because too much product can make makeup look dry and patchy. Step 4: Switch to Sweat Proof Eye Makeup Eye makeup is usually the first thing to smudge in humid weather. That’s why using a sweat proof eyeliner is essential during summer. A good sweat resistant eyeliner: Doesn’t smudge Lasts through sweat and humidity Keeps your eye makeup clean and sharp all day Waterproof mascaras and gel eyeliners are great options for creating long-lasting eye looks. Step 5: Choose Blush That Stays on All Day Blush can disappear quickly when sweat mixes with makeup. To avoid this, choose a blush that stays on all day. Cream blushes and long-wear liquid blushes work especially well because they blend naturally into the skin and last longer than powder formulas. For extra hold: Apply cream blush first Lightly set it with powder blush This layering technique helps maintain color throughout the day. Step 6: Make Your Lip Gloss Last All Day Glossy lips look beautiful in summer, but many glosses fade quickly. To make your lip gloss last all day: Exfoliate your lips Apply lip liner first Use a long-lasting lip tint underneath Add gloss on top This creates a stronger base and helps the gloss stay fresh longer. Step 7: Never Skip Setting Spray If there’s one product that truly completes a sweatproof makeup look, it’s setting spray. A good sweatproof setting spray helps: Lock makeup in place Reduce makeup melting Increase wear time Using a waterproof makeup setting spray is especially important during: Outdoor events Weddings Long working hours Hot summer days For best results: Spray after completing makeup Allow it to dry naturally Avoid touching your face frequently Bonus Sweat-Proof Makeup Tips Here are a few extra summer makeup tips that make a huge difference: Use Lightweight Skincare Heavy creams can make your makeup slide off faster. Avoid touching your face Frequent touching transfers oil and breaks down makeup. Carry blotting papers They remove excess oil without ruining makeup. Apply makeup in thin layers Less product usually lasts longer in humid weather. Simple Sweat-Proof Makeup Routine Here’s a quick routine you can follow daily: Cleanser Lightweight moisturizer Sunscreen Sweatproof primer Lightweight foundation Compact powder Sweat proof eyeliner Long-lasting blush Lip tint + gloss Waterproof makeup setting spray This routine keeps your makeup looking fresh without feeling heavy. Final Thoughts Creating long-lasting summer makeup doesn’t mean using more products, it means using smarter techniques and the right formulas. From choosing the best sweat proof compact powder to investing in a quality sweatproof setting spray, every small step helps your makeup survive heat, humidity and sweat. Whether you’re a beginner or someone who loves makeup daily, following these simple tips can help you achieve flawless, fresh-looking makeup that lasts all day. If you’ve been struggling with melting foundation, smudged eyeliner or fading blush, now is the perfect time to upgrade your routine with products designed for humid weather.
Top 10 makeup hacks you should try this summer?
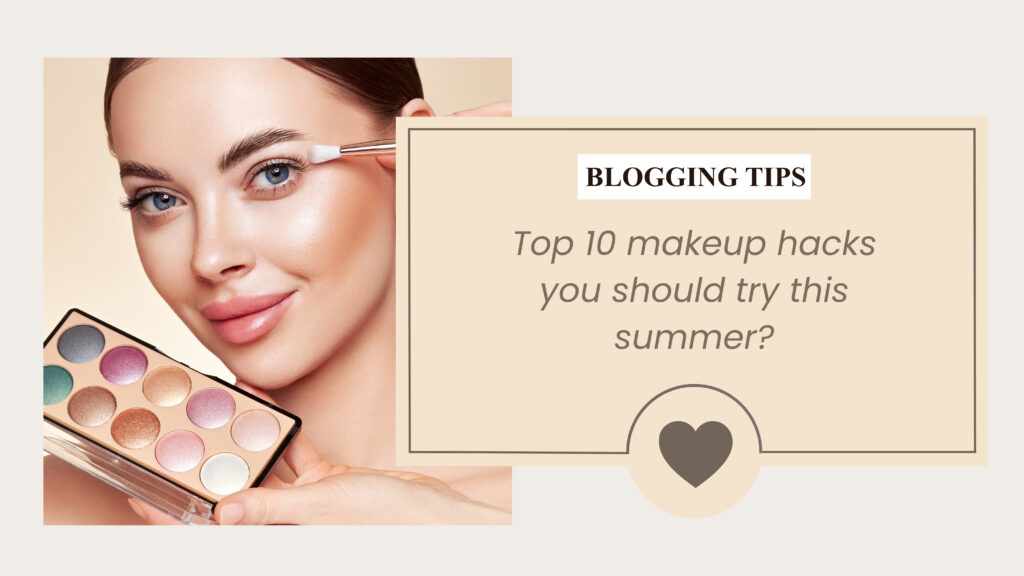
Top 10 makeup hacks you should try this summer? Summer is all about sunshine, vacations, glowing skin and outdoor fun, but let’s be honest, it’s also the season where makeup starts melting faster than ice cream. Humidity, sweat and heat can make even your best makeup look patchy within hours. The happiest thing is you don’t need heavy products or complicated techniques to stay fresh and flawless. With the right makeup hacks for summer, you can keep your makeup looking smooth, lightweight and long-lasting all day. Whether you’re going for work, brunch, college or a beach outing, these simple tips will completely upgrade your summer makeup routine. 1 . Start With Ice or Cold Water One of the best summer makeup tips is to prepare your skin properly before applying makeup. Washing your face with cold water or rubbing an ice cube gently on your skin helps: Reduce excess oil Tighten pores Keep makeup in place longer This simple trick creates the perfect base for a sweat proof makeup routine. 2 . Never Skip Primer in Summer If your makeup disappears within a few hours, primer might be the missing step. A Lightweight mattifying primer: Controls oil Smooths skin texture Helps foundation stay longer This is one of the most effective sweat proof makeup hacks for humid weather. 3 . Choose Lightweight makeup Products Heavy foundations and thick layers don’t work well in summer. Instead of that you can go for: Skin tints BB creams Lightweight foundations Tinted moisturizers These products feel breathable and give a natural glow while helping achieve long lasting makeup in summer. 4 . Apply Makeup in Thin Layers One of the biggest mistakes people make during summer is applying too many products. Simple trick is: Use less product Blend properly Build coverage gradually Thin layers melt less and look more natural throughout the day. This is especially helpful as one of the easy makeup hacks for beginners. 5 . Use Waterproof Products Summer heat and sweat can easily ruin eyeliner and mascara. Switch to: Waterproof mascara Smudge-proof eyeliner Long-wear lip tints These small changes make a huge difference in maintaining a fresh look. 6 . Set your Makeup Correctly If you want to survive summer heat, then setting your makeup is a must. You can use: Loose setting powder on oily areas Setting spray for all-day hold A good setting spray locks everything in place and completes your sweat proof makeup routine. 7 . Don’t Overdo Powder Too much powder can make your face look cakey and dry. Instead you can do: Apply powder only where needed Focus on the T-zone Keep the rest of the skin natural Balanced makeup always looks fresher in summer. 8 . Cream Products Work Better in Summer Cream blushes and bronzers blend beautifully into the skin and give a healthy glow. They can look: Look more natural Melt into the skin better Create a fresh summer finish This is one of the underrated summer makeup tips many people ignore. 9 . Blotting Papers Are a Lifesaver Instead of adding more powder every few hours, use blotting papers to remove excess oil. This keeps your makeup looking fresh without making it heavy. This is a mandatory product for everyone to maintain long lasting makeup in summer. 10 . Prepare Your Skin Before Makeup Great makeup always starts with skincare. Do these before applying makeup: Cleanse your skin Use a lightweight moisturizer Apply sunscreen Healthy and hydrated skin helps makeup sit better and last longer. A good skincare base is the foundation of every successful Summer makeup routine. Bonus: Quick Sweat Proof Makeup Routine If you want a simple everyday routine, follow these steps: Cleanser Lightweight moisturizer Sunscreen Primer Skin tint or BB cream Waterproof eye makeup Cream blush Setting powder Setting spray This quick routine is perfect for daily wear and works well even in hot weather. Final Thoughts Summer makeup doesn’t have to feel heavy or stressful. With the right products and smart techniques, you can achieve a fresh and glowing look that lasts throughout the day. These makeup hacks for summer are simple, beginner friendly and practical enough for daily use. From choosing lightweight products to following a proper sweat proof makeup routine, small changes can make a huge difference in how your makeup looks and feels. If you’re the one who struggles with melting foundation, oily skin or patchy makeup during hot weather, these tips can help you enjoy beautiful and long lasting makeup in summer without constantly touching up your face.
How to Achieve a Perfect Smokey Eye

How to Achieve a Perfect Smokey Eye The smokey eye is one of the most popular and timeless makeup looks. It adds depth, drama, and elegance to your eyes, making it perfect for parties, weddings, or evening events. If you’re a beginner, don’t worry—learning how to achieve a perfect smokey eye is easier than it looks when you follow the right steps. This simple guide will help you understand how to achieve smoke eye looks smoothly without making them messy or too heavy. Start with Eye Preparation Before applying any makeup, it’s important to prepare your eyelids. Clean your face and make sure your eyelids are oil-free. Then apply an eyeshadow primer or a little concealer. This step helps your eyeshadow stay in place, prevents creasing, and makes the colors look more vibrant. It also creates a smooth base for blending, which is essential if you want to achieve smoke eye perfectly. Choose the Right Colors A classic smokey eye usually uses dark shades like black, grey, or brown. But beginners can start with softer shades like light brown and dark brown, which are easier to blend. Pick at least three shades: • A light shade (for the base) • A medium shade (for blending) • A dark shade (for depth) Choosing the right colors is key when learning how to achieve a perfect smokey eye. Apply the Base Shade Start by applying the lightest shade all over your eyelid. This creates a base and helps other colors blend smoothly. Use a fluffy brush or even your fingers to spread the color evenly. Keep it soft and natural—this layer is just to build a foundation. Add Depth with Dark Shades Now take the medium shade and apply it to the crease (the fold of your eyelid). Blend it well in a back-and-forth motion. Next, apply the darkest shade to the outer corner of your eyes and slightly along the lash line. This creates the smokey effect and helps you truly achieve smoke eye definition. Remember, the secret to a perfect smokey eye is blending. There should be no harsh lines between colors. Blend, Blend, Blend Blending is the most important step. Use a clean, fluffy brush to soften all the edges and mix the colors together. If the makeup looks too dark, you can go back with the lighter shade and blend again. This helps balance the look and makes it appear smooth. When people struggle with how to achieve a perfect smokey eye, it’s usually because they skip proper blending. Define with Eyeliner Apply eyeliner along your upper lash line. You can use a pencil, gel, or liquid liner. For a classic smokey effect, gently smudge the eyeliner using a small brush or your fingertip. This softens the line and blends it into the eyeshadow. You can also apply a little eyeliner on the lower lash line and smudge it for a more dramatic look. Add Mascara or Lashes Finish your eye makeup with mascara. Apply one or two coats to make your lashes look fuller and longer. If you want a more glamorous look, you can use false eyelashes. They enhance the smokey eye and make your eyes stand out even more. Clean Up the Edges After finishing your eye makeup, clean up any fallout under your eyes using a tissue or a bit of concealer. This step gives your makeup a neat and professional finish. Final Tips for Beginners When learning how to achieve a perfect smokey eye, remember: • Start with light shades and build gradually • Always blend well • Don’t rush the process • Practice regularly The smokey eye may seem tricky at first, but with a little patience, you can master it easily. Once you get comfortable, you can experiment with different colors like gold, plum, or even bold shades and confidently achieve smoke eye styles for any occasion. Conclusion A smokey eye is a powerful makeup look that can instantly elevate your appearance. By following these simple steps, you can create a beautiful, blended look that suits any occasion. Now that you know how to achieve a perfect smokey eye, all you need is a bit of practice to perfect your technique and make it your own style. For professional help or bookings, feel free to contact a makeup expert.
Bridal Makeup for beginners: Step-by-Step Guide for Beginners
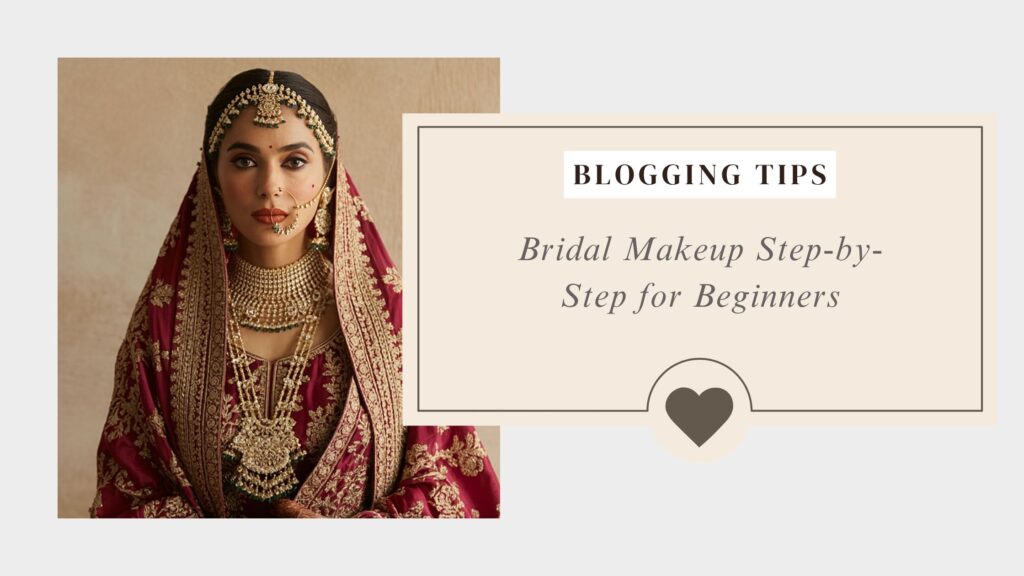
Bridal Makeup for beginners: Step-by-Step Guide for Beginners One thing that no bride would overlook when preparing for their wedding day is bridal makeup. Everyone wishes to have the best appearance on the day of their marriage, so it is imperative for brides to get the right makeup to achieve such perfection. For those exploring bridal makeup for beginners and learning bridal makeup step by step for beginners, there are several steps that should be taken into consideration for perfect bridal makeup. Skin Preparation First and foremost, it is critical to begin with skin preparation. The preparation is essential because it will ensure that all makeup applied remains intact throughout the entire day without causing any trouble to the bride. It is essential first to cleanse your skin since it will remove all dirt and oils, then apply a moisturizer on the face depending on its type. Finally, consider applying a primer on the face, which ensures that makeup remains in place. Apply Foundation Another vital element of bridal makeup step by step for beginners is applying foundation to create a perfect base. One needs to use a foundation that matches the skin tone and applies it evenly on the face using either a sponge or a brush. One does not need to use a lot of foundation to get the desired coverage. The key is to apply it gradually. After that, use concealer to cover some areas on the face where you do not wish the makeup to be visible. To complete this process, a translucent powder can be used to ensure that the foundation stays put throughout the entire day. Contouring and Adding Color Contouring involves adding a darker shade of foundation to different areas of the face to create a perfect base. For instance, you can use darker shade around your cheeks, jawline, and nose for added definition. Then add blush to the apple areas on the cheeks. Pink or peach colors are usually ideal for wedding makeup because they bring some youthfulness and freshness on the bride. Finally, apply highlighter around the areas where light should naturally shine to brighten them up. Highlighter usually brings out some radiance and is thus crucial. Eye Makeup for Bridal Makeup Step By Step For Beginners It is worth noting that a good deal of attention is required for bridal makeup for beginners when it comes to doing the eyes. It begins with applying eyeshadow primer on the area to prevent creasing and ensure that it lasts longer. Neutral tones such as gold, brown, and pink colors can be blended perfectly for the best outcome. Next, it is advisable to apply eyeliner on the eyes to emphasize them. One can draw a simple line or winged eyeliner. Finally, apply mascara on the eyelashes to add volume to them for better appearance. Alternatively, one can opt to wear false eyelashes, which bring more emphasis to them. Shape and Fill in Your Eyebrows Since the eyebrows play a significant part in facial structure, one should consider shaping them before applying other types of makeup. One can simply fill in their sparse areas using a brow pencil to create the desired definition. One needs to ensure that the eyebrow shapes and colors match to give a natural look. Complete the Look With Lipstick One should ensure that the lips are exfoliated to make sure that the lipstick adheres well. Afterward, one can use a lip liner to define their lips. Finally, the lipstick should be chosen carefully to give a great combination for your wedding look. The popular shades are traditional red, soft pink or nude colors. Long-lasting formulas will be preferred in bridal makeup step by step for beginners because it helps to keep them fresh throughout the whole day. Finishing Up Bridal Makeup It is always wise to set your makeup using a setting spray. This will help the makeup remain in place throughout the ceremony because it will not be affected by any factor. A setting spray will give a natural finish because it blends the different makeup layers perfectly. If you need professional guidance or want to book expert services, feel free to get in touch with a bridal makeup expert.
How to Create a Natural “No-Makeup” Makeup Look
The no makeup look has become one of the most popular beauty trends today. It focuses on enhancing your natural features rather than covering them up. The goal is simple: look fresh, glowing, and effortless—as if you’re not wearing makeup at all. If you’re someone who prefers a clean, minimal style or wants an everyday routine that’s quick and easy, this guide will help you master the perfect no makeup look. Start with Skincare A flawless no makeup look begins with healthy skin. Before applying anything, cleanse your face to remove dirt and oil. Follow it up with a lightweight moisturizer to keep your skin hydrated. If you’re stepping out during the day, don’t skip sunscreen—it protects your skin and keeps it looking youthful. Well-prepped skin makes a huge difference because this look relies more on your natural glow than heavy products. Use a Lightweight Base Instead of full-coverage foundation, go for a tinted moisturizer, BB cream, or a light foundation. The idea is to even out your skin tone without hiding your natural texture. Apply a small amount and blend it well using your fingers, sponge, or brush. Keep it sheer so your skin still looks like skin. For areas that need extra coverage—like dark circles or blemishes—use a bit of concealer and blend it carefully. Keep It Soft and Natural For the no makeup look, less is always more. Avoid heavy contouring. Instead, use a light cream blush to add a natural flush to your cheeks. Soft pink or peach shades work well for most skin tones. You can also add a subtle highlighter to the high points of your face, like cheekbones and the bridge of your nose, for a gentle glow. Make sure it’s not too shimmery—just enough to catch the light. Enhance Your Eyes Gently Skip dramatic eyeshadow looks. For a natural effect, use neutral tones close to your skin color. Even a light wash of beige or soft brown is enough to define your eyes. Curl your lashes and apply one coat of mascara to open up your eyes. Avoid clumping or heavy layers. If you want, you can lightly fill in your brows using a pencil or powder to match your natural shape. The aim is to enhance—not overpower—your features. Choose a Natural Lip Color For lips, pick shades that are close to your natural lip color. Nude, pink, or soft coral tones work best for a no makeup look. You can use a tinted lip balm or a lightweight lipstick for a fresh finish. Gloss is also a great option if you want a hydrated, youthful appearance. Set Lightly If you have oily skin, you can use a small amount of translucent powder on areas like your T-zone. But don’t overdo it—the goal is to maintain a natural, dewy finish. You can also use a setting spray to lock everything in place while keeping your skin looking fresh. Final Thoughts The beauty of the no makeup look is its simplicity. It doesn’t require a lot of products or time, but it does require a light hand and the right techniques. Focus on enhancing your natural beauty, keeping everything soft, and blending well. With practice, you’ll be able to achieve a polished yet effortless look that works for everyday wear, office settings, or casual outings.
Top Foundation Shades for Every Indian Skin Tone
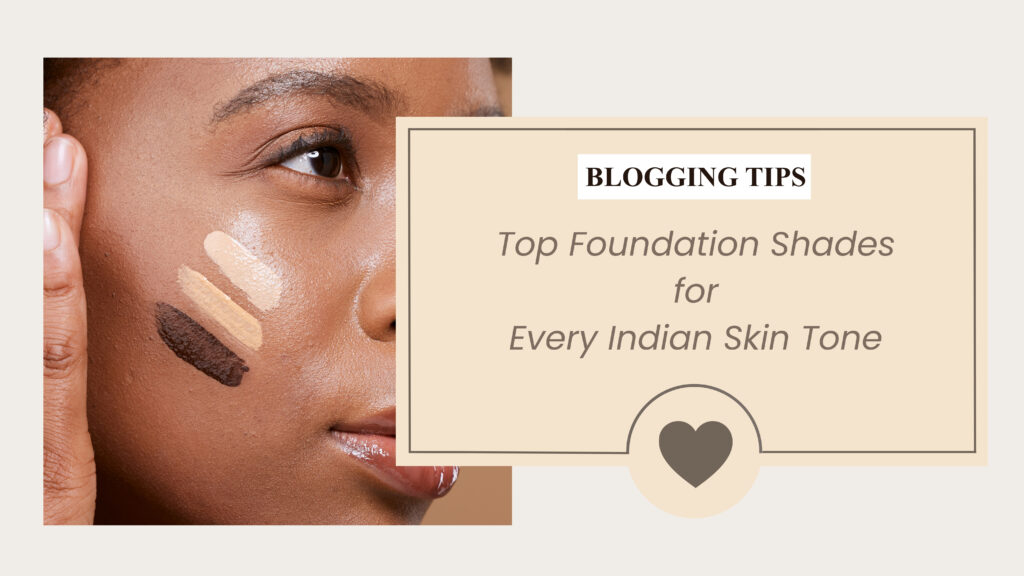
Perfect Foundation Shades for Indians skin tone is very hard to find. But if you find it, it can make your makeup look great. Especially for Indian skin, the right foundation not only matches your colour but enhances your natural glow and gives you flawless, seamless coverage. Here’s your go-to guide to foundation shades that flatter every Indian skin tone and how to choose them right. How to Pick the Perfect Foundation Shade for Indian Skin tone Before buying a foundation, it is crucial to identify your undertone. Indian skin typically falls into one of three categories: 1. Know Your Undertone – Your skin tone is different from your undertone. Indian skin often carries warm, cool or neutral undertones. 2. Swatch Along Your Jawline – Test foundation in natural light along the jawline to see if it disappears into your skin. The perfect shade should melt into your skin without leaving a line. 3. Consider Seasons and Oxidation – Indian weather is very hot and humid and can make foundations turn slightly darker. If you’re between shades then choose the one that settles more naturally after a few minutes. Top Foundation Shades for Indians Skin Tones Here are some of the most recommended foundations across budgets and finishes with shades that generally work well on Indian skin tones: 1. Everyday Essentials 2. Medium to Full Coverage for Photos & Events Choosing the right foundation is not only about looking fair. It is also about finding a shade that looks like the better version of you. When your foundation matches your undertone and depth, it creates a natural, flawless base that makes everything else in your makeup look better.
Best Makeup Ideas for Dusky Skin
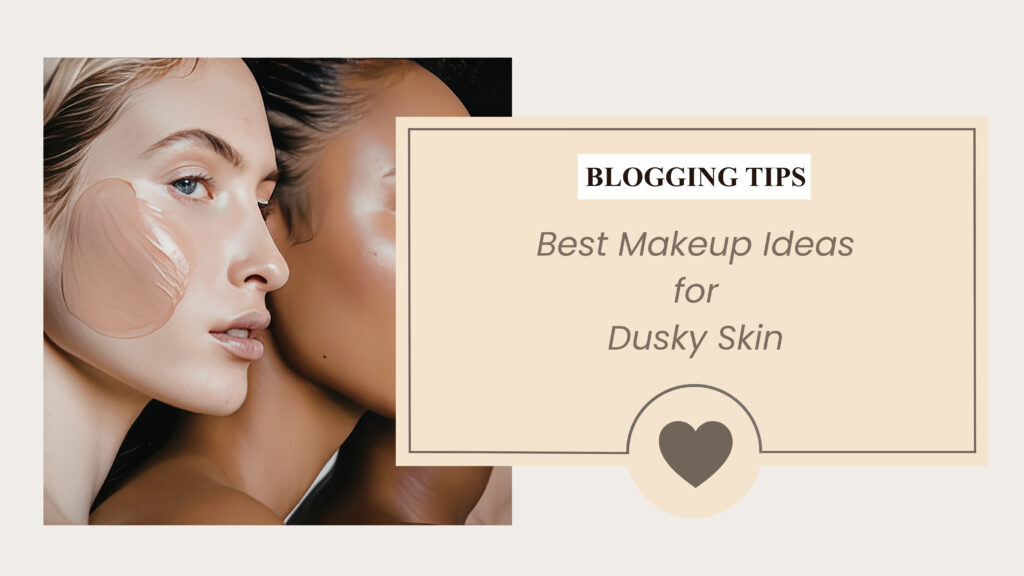
For a long time, the beauty industry is not able to make it easy for those of us with deeper, melanin-rich skin tones. Trying to find a foundation that matches perfectly to our skin feels like a treasure hunt. But thankfully the fashion and beauty worlds have finally caught up and we are fully in the era of embracing the magic of dusky skin with best Makeup Ideas for Dusky skin. Whether you are styling for a runway project, or you’re just getting ready for a gorgeous evening, knowing how to complement deeper skin tones is a game-changing skill. If you have dusky skin, the goal is never to lighten your pigmentation, but to enhance your natural, radiant glow. Here are the Best Makeup Ideas for Dusky Skin and expert tips to make your features pop. Master the Base: Avoid the “Ashy” Look We’ve all seen the foundation that looks perfect in the bottle but turns grey and chalky the second it touches the skin. To avoid this “ashy” look, you have to nail your undertone. Most Indian dusky skin has warm, neutral, or olive undertones. Always test a new foundation on your jawline in natural daylight. A shining skin often looks more chic and modern than a heavy, flat matte foundation. Let that beautiful skin texture shine through. The Magic of Color Correcting Hyperpigmentation—like dark circles under the eyes or slight darkness around the mouth. It is very common for Indian skin types. Instead of piling on layers of thick concealer to hide it, use color theory. Lightly tapping an orange or deep peach color corrector over any dark areas neutralizes the pigmentation instantly and allows your regular foundation to look flawless. Play with Rich, Jewel-Toned Eyes One of the best things about dusky skin is that it can carry bold, highly pigmented colors better than almost any other skin tone. Pale pastels might wash you out, rich jewel tones will make you look like royalty. Everyday Glam: Copper, bronze, and rich chocolate browns make the eyes sparkle for a soft, everyday look. Bold Statements: Emerald greens, deep sapphire blues, and vibrant plums look stunning against melanin-rich skin. Pair a jewel-toned smoked-out eyeliner with a nude lip for a high-fashion editorial look. The Ultimate Nude Lip Hack Finding the perfect nude lipstick for dusky skin can feel like a lifelong journey. Here is the ultimate stylist hack: Find a deep brown lip liner. Outline your lips and blend the edges inward toward the center. Then, apply your favorite nude or peach lipstick just in the middle and blend it together. It creates a stunning, dimensional pout that suits deeper skin tones perfectly and makes it the Best Makeup for Dusky Skin.
Soft Glam vs Full Glam Makeup: Which Should You Choose?
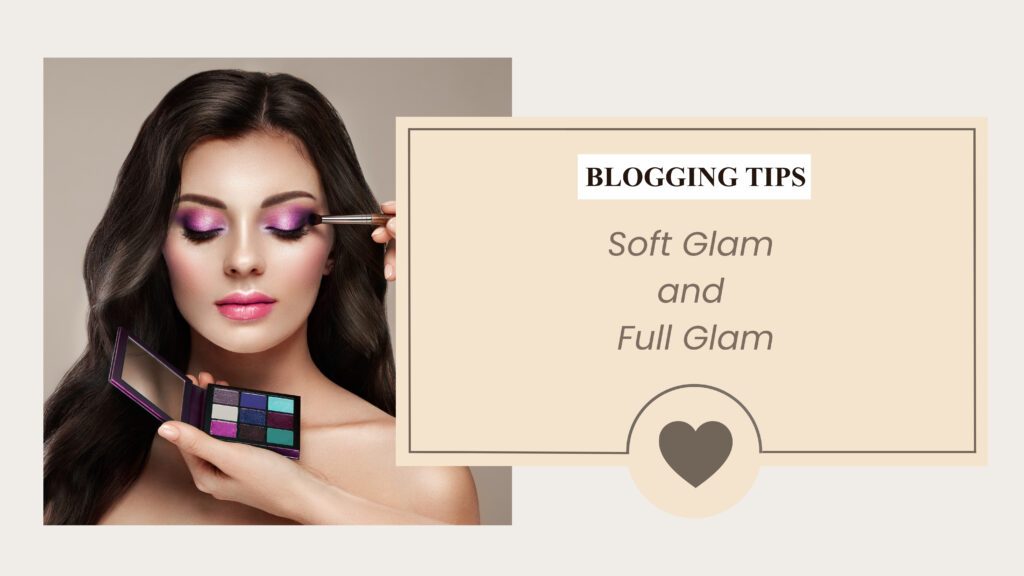
In the world of Fashion and Styling, a stunning outfit is never truly complete without right hair and perfect makeup.Have you ever looked at a stunning fashion editorial or a beautiful bridal portrait, and wondered “How do they decide on that exact makeup look?”. The right makeup acts as the ultimate accessory. Right now, two major trends dominate the beauty scene: Soft Glam and Full Glam. Whether you are interested in styling or just trying to figure out your look for an upcoming event, understanding the difference between these two styles is very essential. Let’s learn about these two styles ( Soft Glam and Full Glam ), which helps you to choose for your unique looks from your wardrobe. Soft Glam: It is all about enhancing your natural beauty with minimal makeup. It creates a radiant, filtered and effortless appearance. The goal is to look glamorous, but in a fine and blended way. Key features: When to choose soft glam: It is the perfect choice for daytime events, professional photoshoots, cocktail parties, and intimate gatherings. soft glam pairs beautifully with minimal fashion, flowy pastel garments, elegant office wear, and breezy summer dresses. Full Glam: This is where makeup becomes a high art. Full glam is bold and transformative. It will attract everyone and make sure that all eyes are on you. It is the classic red-carpet look that looks absolutely flawless in high-definition photos and under bright studio lights. Key features: When to choose full glam: Full glam is built for the spotlight. It is the perfect choice for heavy bridal wear, evening galas, high-fashion runway shows, and nightclub events. It demands an outfit heavy traditional wear, sequined gowns, or avant-garde fashion pieces.